Showing posts with label chocolate. Show all posts

Thursday, January 23, 2014

The Tim Tamington Cake

Hello everyone! Currently I am in Australia and to be more specific I am in Byron Bay, New South Wales. I've now been living in Australia (Melbourne) for six months which puts me exactly half way through my year long stay. Since it's summertime and I've got the month off, I am travelling down the beautiful east coast of Australia. 

It's been a challenge living in Australia as the opportunities to bake are few and far between. I am without an oven in our tiny Melbourne apartment, however during the holidays I was able to produce some Christmas cookies with our little toaster oven. Now that we are travelling, I've had little time to even think about how much I miss baking and putting cakes together. Last week in Noosa, we needed something to make our friends birthday special - a cake! So, my friend Jenna and I came up with an idea of making a no-bake, easy cake to celebrate the occasion. It's also the perfect dessert for Australia Day which is coming up in just a few days. We may need to make it again! 


Introducing THE TIM TAMINGTON CAKE!
I'm not positive, but I believe that we may have been the inventors of this strictly Aussie cake. It's inclusive of the two major Australian sweets: Tim Tams and Lamingtons. If you're unsure of what these are, let me break it down for you:

Tim Tam: an extra delicious chocolate cookie that is made up with two layers of chocolate cookie which is separated by a layer of chocolate cream then submerged in chocolate for it's outer covering. You'll have to stay tuned for my post on 9 ways to eat a Tim Tam! 

Lamington: these babies are squares of sponge cake that are covered in chocolate and coconut shreds. I've never actually tried them before cutting into this cake but they are great although I'd prefer a home made rendition to the packaged kind. 

Now that you know the ingredients, you'll need less than five minutes to put this chocolate monster together. Of course, you'll need to make or buy some chocolate frosting. As we are backpacking, we unfortunately needed to opt for the store bought. 
We started with a layer of Lamingtons in a 2x3 formation. Cover those with chocolate frosting to hold you next layer of Tim Tams in place. We did an alternating pattern of the Tim Tams to hold the cake together. After that, you guessed it, another layer of chocolate frosting. Go ahead and stick the other six Lamingtons on top and smear them with the last of your chocolate frosting. For the top, we crushed the remaining Tim Tams and scattered them across the top. BAM! There you have it: The Tim Tamington Cake! 
We added the Australian Flags that came with the Lamingtons to add a little extra Aussie flare and to make it that much more appropriate for Australia Day! 

I apologize to all my North America friends as these ingredients may be a challenge to find. However, if you do find them, go ahead and smash this cake together - you won't regret it!   
Follow my blog with Bloglovin        
Pin It

Tuesday, July 16, 2013

Rider Pride Wedding

Oh how I love weddings! And I love creating wedding cakes and cupcakes! That is why I was thrilled when Rebecca and Murray asked me to make their wedding cupcakes and cake! Something you should know about the bride and groom is that they are HUGE Rider fans! I don't think I've ever met bigger fans that these guys! It was to no surprise that their wedding had a Ride Pride glow to it. They decided that the bride would get to choose the design and flavour of half the cupcakes and the groom the other half. Together they decided that they wanted a cake for them and their bridal party to share. 


Of course, being the Rider fans that they are, the groom chose chocolate cupcakes decorated with green grass and a chocolate almond football! The bride chose to go with a vanilla cupcake frosted with a swirl and embellished with a flower. The colours came together nicely when they were all set up. 


If you're a perfectionist like I am, you've probably already noticed that some of the liners are solid black and others are polka dotted. Believe me, I cringe at the fact that the liners didn't all match, but that is something I've just got to deal with living in a city with very limited choices when it comes to baking and cake decorating. I do all my Wedding Cake shopping either in trips to Calgary or online. I got the black cupcake liners online and as I was putting the last batch in, what do you know, I run out of black liners! The supplier shorted me TWELVE liners. I had to run to Bulk Barn, no black liners. Called Michaels, no black liners. Called Gale's, no black liners!! Can you believe that not a single place in this city carries a solid black cupcake liner - what the heck! Polka dots was my closest bet. I'm such a perfectionist that I debated baking everything over again just so the liners would match -- ain't nobody got time for that! 


The cake was Red Velvet iced with buttercream in a scalloped design. The cake topper matched perfectly with the theme as she is wearing a Rider jersey. I told you - big fans! It was so special that they asked me to create the cupcakes and cake for their special day! I had so much fun baking and decorating!

Congratulations Rebecca and Murray! I wish you a lifetime of happiness and Rider Pride together! 
Pin It

Thursday, March 28, 2013

Guinness Goodness

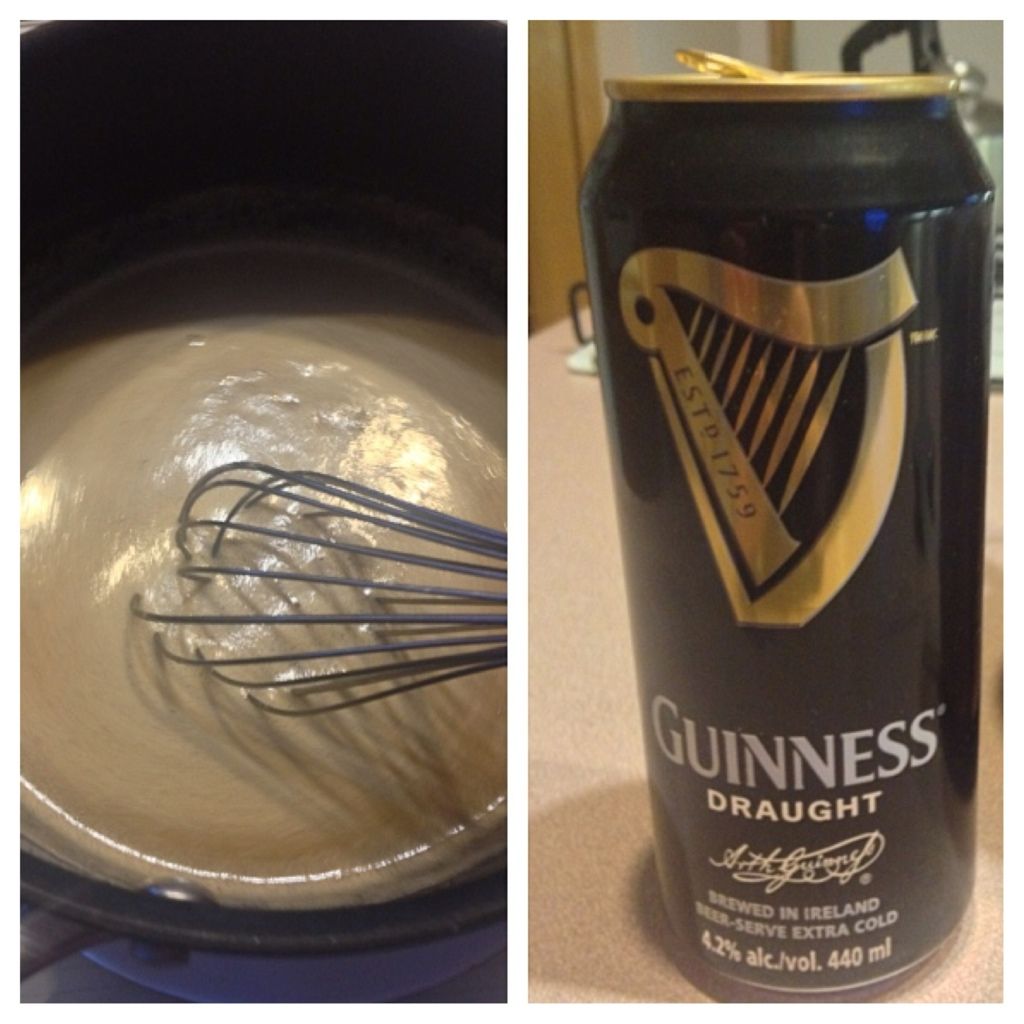
If you were to ask me what my favourite type of beer is, it's likely that I would mention any kind of stout. Although I am a fan of many beers, especially craft beers, my favourite of all is something dark, creamy, and filled with dark roasted flavours. Guinness has all the essentials for my favourite type of beer, which is why I love it. Its an Irish stout that is loved world wide!

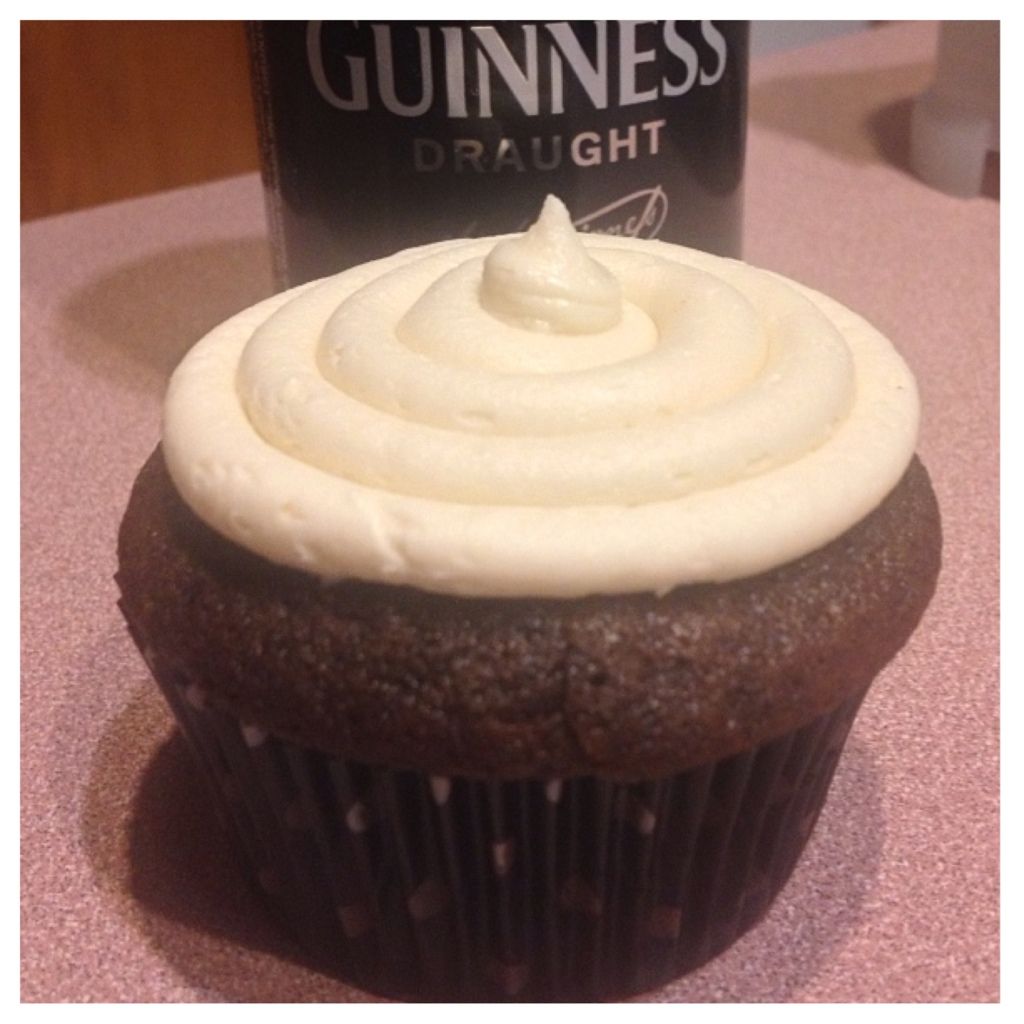
Its nothing new that Guinness is a great beer to cook and bake with, and by no means did I come up with this recipe. I thought I would make these delicious Guinness cupcakes topped with Bailey's Irish Cream frosting for St. Patrick's Day! Cooking and baking with Guinness shouldn't just be limited to an Irish holiday, so I have big plans of doing more baking with Guinness in the near future. It offers wonderful flavours and pairs well alongside anything chocolatey! 

When I found this recipe, I was all over it - I knew I had to make them! It was a quick and easy recipe to whip together and the house smelled like delicious Guinness as I was baking. The cupcake itself turned out really moist, light and flavourful. I whipped up a batch of chocolate ganche and filled the inside of the cupcake to offer and rich chocolate experience. I topped these guys with a frosting made up of Bailey's Irish Cream, to keep the St. Patricks Day theme alive!

 If you would like to give this recipe a try, Click Here, and follow Sharyn at Living Artfully! 

Kaits 
Pin It

Tuesday, December 27, 2011

Cookie Dough Dip


This year for Christmas I wanted to bring something a little bit different! This dip isn't your regular party dip, this dip is sweet, delicious, and basically the best dip ever!!! I found this dip on my favourite site, Pinterest! Like I said in my last post on the Cookie Dough Pops, the best part of baking is eating the cookie dough! I don't think I've ever met a person who doesn't love eating cookie dough!
(Not the best picture as we were in a hurry!)
The recipe is simple and it certainly doesn't take long at all to make! You can check out the original recipe from HERE!

I whipped mine up and served it with Teddy Grahams and Graham crackers. It would also go well with Vanilla Wafers or Animal Crackers!

Enjoy!! 


Kaits :)

Pin It

Monday, December 19, 2011

Christmas Cookie Dough Pops

This is so exciting! I love having so much time off this holiday season to make so many goodies! I found this awesome idea online for Cookie Dough Pops. Similar to cake pops except they are made of cookie dough, obviously!
They are SO delicious, who doesn't love cookie dough? Its better than eating the baked cookies! They are also extremely cute and for the most part mess free when you are eating them!


The recipe is simple. Make your favourite kind of cookie dough. I used the Kahlua Chocolate Chip cookie dough. The only difference is you substitute each egg for 2 tablespoons of milk.


They are so easy to make, they look great, and they taste delicious!
Merry Christmas Everyone!!


Kaits :)
Pin It

Monday, December 12, 2011

Hot Chocolate on a Stick

For the Craft Sale that Seleena and I did as a fundraiser for our trip to Africa we made chocolate candies, candy bouquets, peppermint bark, and the best seller, Hot Chocolate on a Stick! These ended up being a gooey disaster, but we wrapped them up to make them look pretty for our craft sale. They still sold really well and we should have had more. 

I was thinking of something that I could make and take to my co-workers during the Christmas season, and I thought of making these again! The second attempt went much better once I learned how to read a recipe the right way! As it turns out we put wayyy too much condensed milk in the first time, that is what made them extra gooey. This time, sticking to only one can of condensed milk, they turned out fabulous! 
 Basically, you heat up a mug filled with milk and you drop these babies in a give it a stir. You will taste the best hot chocolate you have ever had! Rich, smooth, and creamy! If you prefer, you can eat it right off the stick as a delicious piece of fudge and marshmallow!

These turned out to be the perfect winter gift for anyone! Who doesn't like a warm cup of hot chocolate? 

Click for Printable Recipe
 

Kaits :)
Pin It

Monday, March 21, 2011

Dangerously Delicious Cupcakes!

I was invited to a little get together at my friends house and I thought I would try out the recipe that I've been wanting to try for a while. Now, the name "Dark Chocolate Cupcakes with Reeses Peanut Butter Cup Center with Fluffy Peanut Butter Topping dipped in Chocolate" doesn't quite suffice, so why not Dangerously Delicious Cupcakes instead. 
I knew these cupcakes were going to be good once I whipped up the batter and realized its almost like a thick brownie batter, but more on the fluffy side. I then added Mini Reeses Peanut Butter Cups to each cupcake! 
I am planning on making a recipe archive so that you can try for yourself the different recipes that I make. 

[Click for Printable Recipe]

Kaits :)
Pin It

Wednesday, March 16, 2011

Coca-Cola Cupcakes!

Coke, in a cupcake? You betcha. These little mini cupcakes are filled with Coca-Cola and chocolatey delight! The topping is Coke Whipped Topping with a sour coke bottle candy on the top. I can honestly say that I do not know what they taste like as I never even got the chance to try these guys. I also made these for my sister, but let me tell you, I don't think I will do mini-cupcakes again, or in the near future anyways! They are so cute, but they are a pain in the butt to make, especially when I don't own a small batter scooper! I found the recipe for these guys a while ago on the Coke website!


[Click for Printable Recipe]

 Kaits :)
Pin It

Tuesday, March 15, 2011

Kahlua Coffee Chocolate Chip Cookies

  
My sister is taking a stab at being an Arbonne Consultant and tonight is her first night of it. She asked if I would make her some goodies to serve at her little get together, and of course, being the wonderful sister I am, I said yes! So, I made Kahlua Chocolate Chip Cookies, these cookies are soft and delicious! Next go at making them, I would include more Kahlua and more coffee or espresso powder in the mixture because the taste isn't all that distinct. You can basically make your favourite chocolate chip dough but before mixing add in about three table spoons of Kahlua or other coffee liquor and two teaspoons of instant coffee or espresso powder. Depending on what you like, you could always add more or less. There's nothing wrong with tasting the batter! ;)


Kaits :)
Pin It

Friday, March 11, 2011

Homemade Brownies

I think Joel is quite envious of all the people I do baking for, although he usually gets his fair share, lately he's been feeling left out. He asked if I could make him some "really good, most delicious brownies," and so I did. I got up early this morning to make these homemade brownies with chocolate cream cheese frosting (as per request) before heading off to volunteer! I must say, these turned out wonderfully, and although I was a bit skeptical about the frosting (as I've never done chocolate cream cheese before) it turned out SO yummy! Together, it was rich, chocolatey, gooey and savory piece of brownie! MMM, just look at it! I think Joel, his Mom, and myself ate half of the 8x8 pan tonight!
Pin It

LinkWithin

Related Posts Plugin for WordPress, Blogger...